
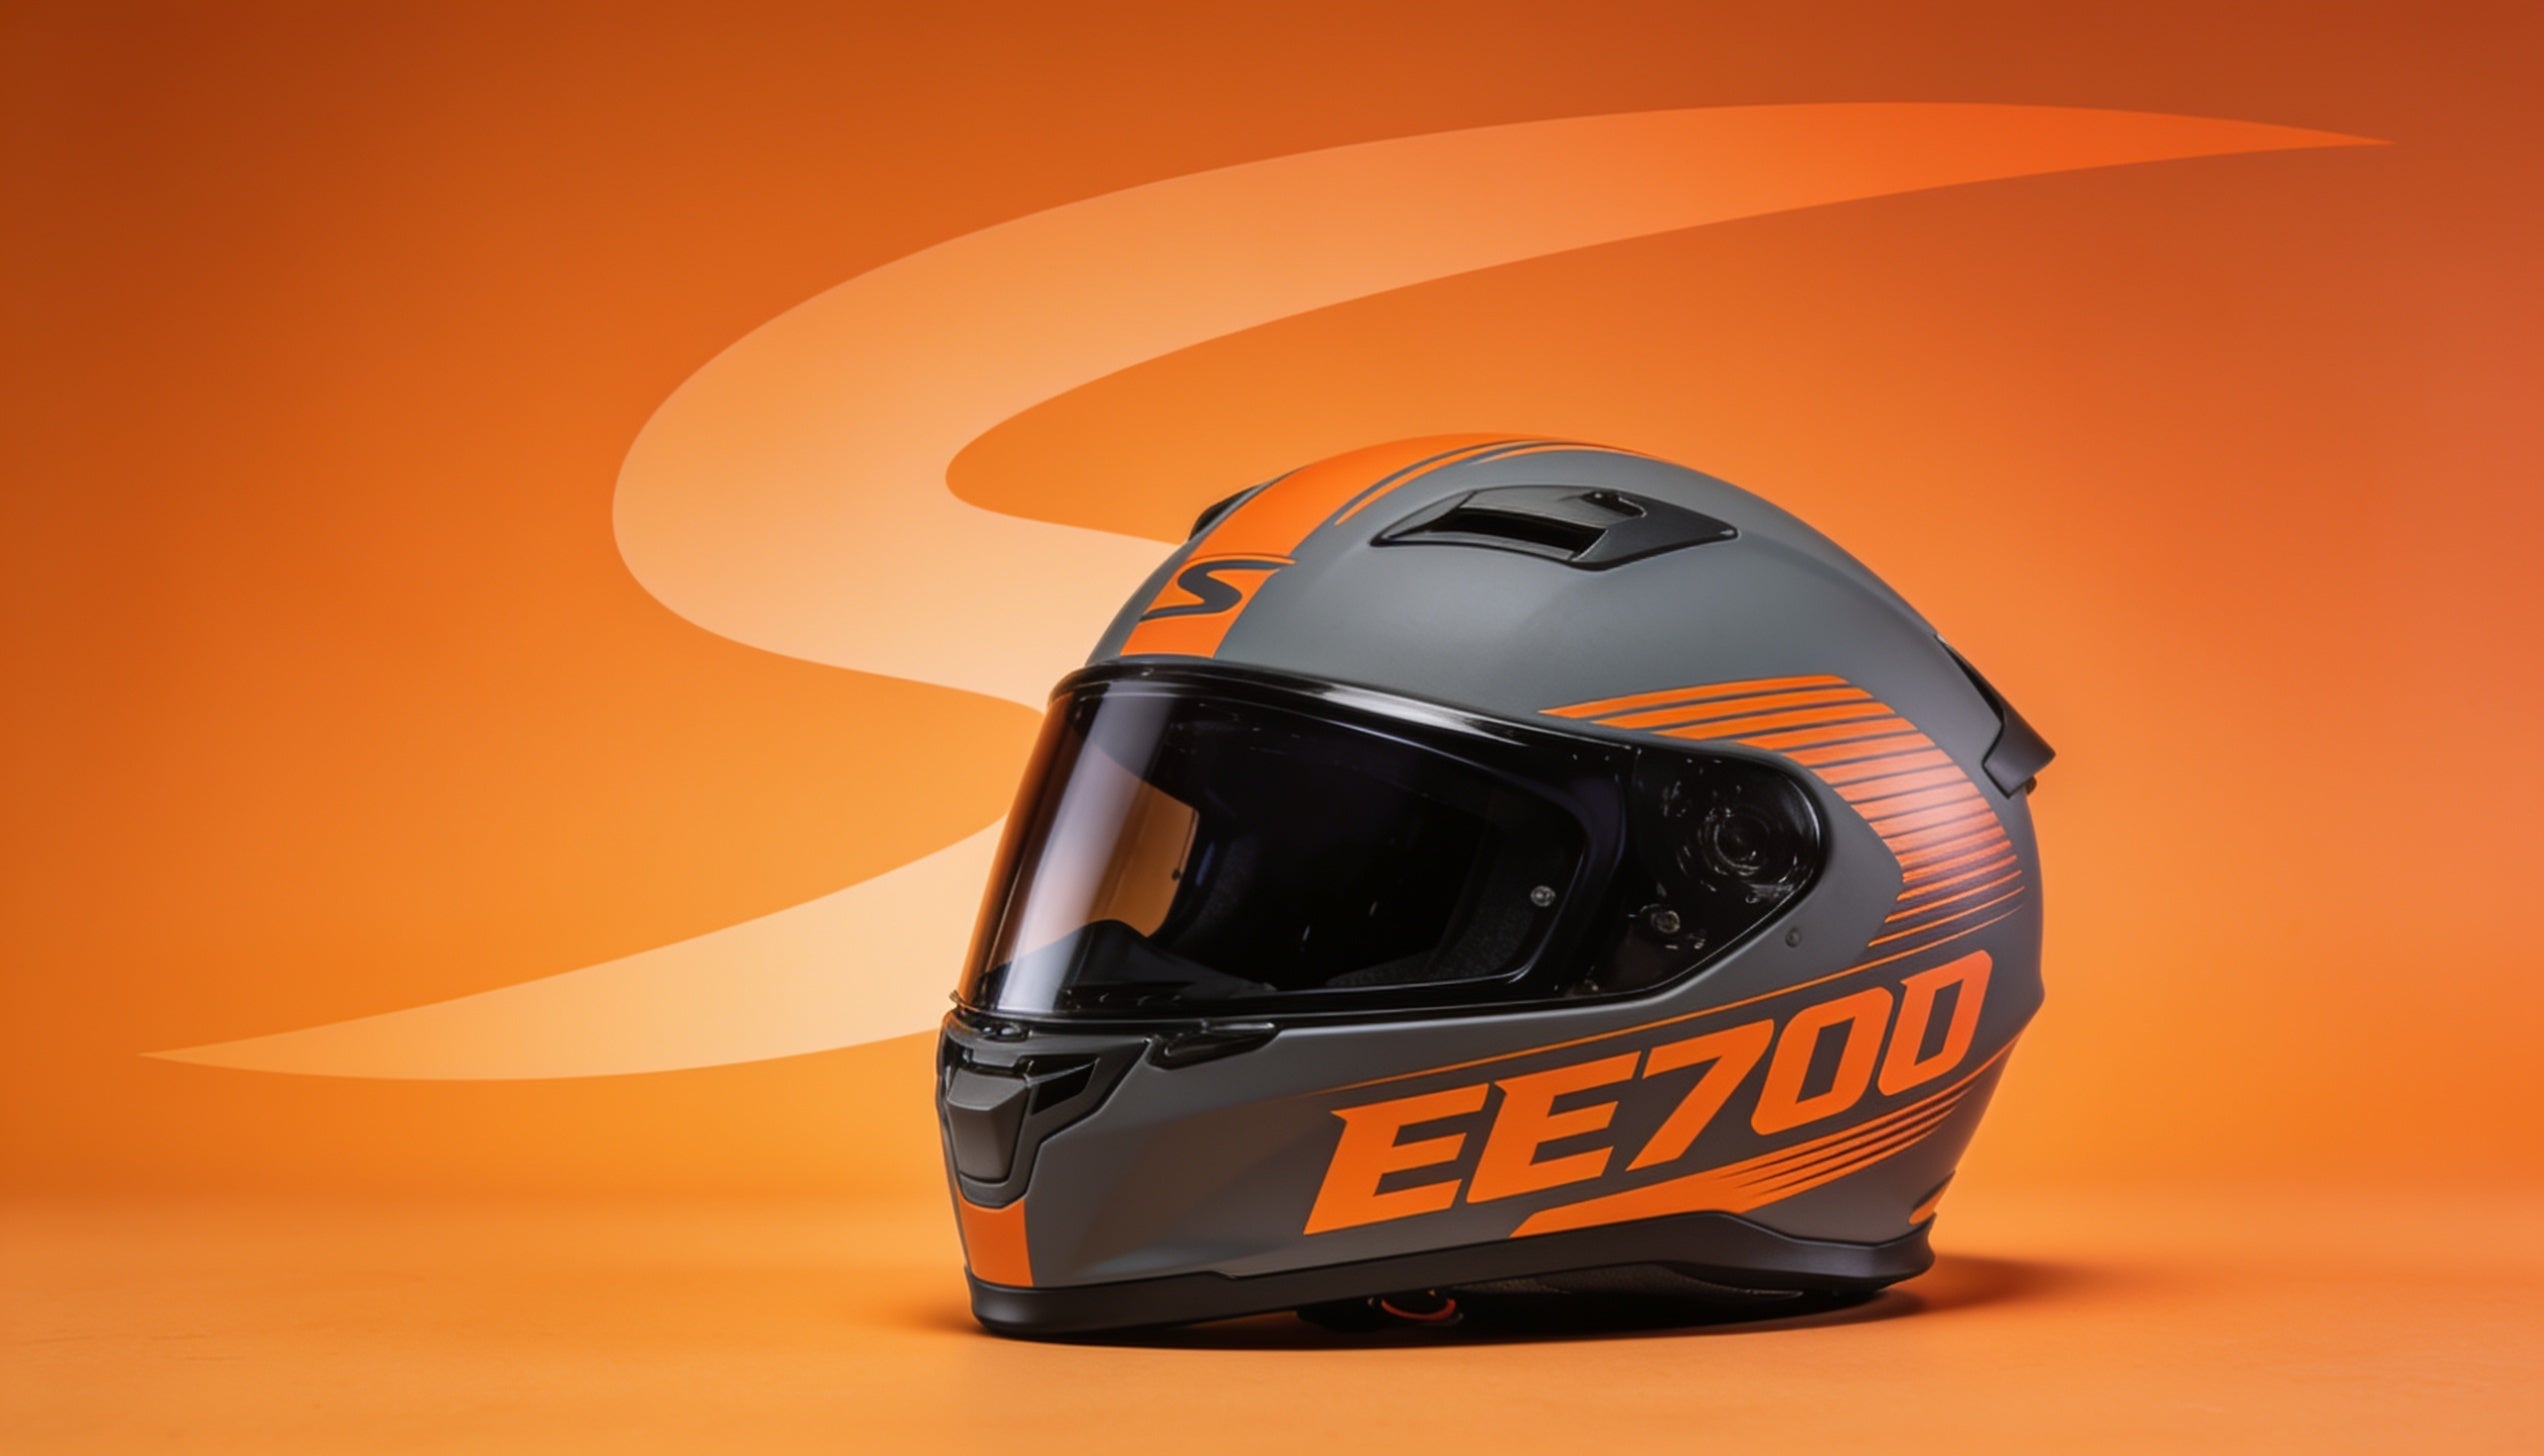
Buying your first motorcycle helmet is exciting—until you realize that “medium” means something completely different depending on the brand, the shape of your head matters as much as the size, and a helmet that feels comfy in the store might turn into a headache-inducing nightmare an hour into your ride. Sound overwhelming? Don’t worry. Getting the right motorcycle helmet size isn’t complicated once you know what to look for, and this guide walks you through every step.
A properly fitted helmet is the single most important piece of safety gear you own. It only protects you if it actually fits—so let’s make sure yours does.
Why Motorcycle Helmet Fit Matters More Than You Think
Here’s the thing most new riders don’t realize: a helmet that’s too loose can shift or even come off during a crash, and one that’s too tight will distract you with pressure points and pain. Neither is safe.
A correctly fitted helmet does three jobs at once. It stays put during an impact, it distributes crash forces evenly across your head, and it keeps you comfortable enough to actually focus on the road. When your helmet fits right, you’ll almost forget you’re wearing it. When it doesn’t, you’ll be counting the minutes until you can take it off—which is exactly when your attention should be on riding.
So before you fall in love with a paint job or a brand name, get your measurements and head shape sorted. Everything else comes second.
Step 1: Measure Your Head Correctly
Measuring your head is quick, but doing it accurately makes all the difference. Here’s how to get it right.
What you’ll need: a soft cloth measuring tape (the kind used for sewing). If you only have a rigid tape measure, use a piece of string and then measure the string against a ruler.

Figure 1 — Where and how to wrap the tape: about one inch above the eyebrows and ears.
How to measure:
- Wrap the tape around the widest part of your head—about one inch (2.5 cm) above your eyebrows and above your ears.
- Keep the tape level all the way around, front to back. A tilted tape gives you a wrong number.
- Take the measurement two or three times and use the largest reading. Heads aren’t perfectly round, and you want the biggest number so the helmet isn’t too tight.
- Note your measurement in both centimeters and inches, since sizing charts vary by manufacturer.
That single number is your starting point for finding your correct helmet size.
Step 2: Understand Helmet Sizing Charts
Once you have your measurement, compare it against a sizing chart. Here’s a general guide—but always check the specific manufacturer’s chart, because sizes vary between brands.
 Figure 2 — General helmet sizing chart. Always confirm against the specific model’s measurements.
Important: if your measurement falls between two sizes, size down on the borderline rather than up—the interior padding compresses slightly as it breaks in. A snug fit is better than a loose one, but never force it.
Step 3: Identify Your Head Shape
Here’s the step almost every beginner skips—and it’s a big one. Two people can have the exact same head circumference and need completely different helmets, because helmets are built for different head shapes.
 Figure 3 — The three internal head-shape categories, viewed from directly above.
Most helmets fall into three internal shape categories:
- Round Oval — head is nearly as wide as it is long. Common in some Asian-fit helmets.
- Intermediate Oval — slightly longer front to back than side to side. The most common shape, and what most helmets are designed for.
- Long Oval — noticeably longer front to back than side to side.
How to figure out your shape: have a friend photograph the top of your head from directly above (hair flat), or use two mirrors. Compare width to length. Pressure on your forehead and the back of your head means the helmet is too round for you; pressure on the sides means it’s too long-oval. Matching your head shape to the helmet’s shape is what turns an “okay” fit into a great one.
Step 4: Try It On and Check the Fit
Numbers get you close, but the real test is putting the helmet on. A properly sized helmet should feel snug as you pull it over your head—you’ll have to spread the chin straps and work it past your ears. If it slides on easily with no resistance, it’s probably too big.
 Figure 4 — The four essential fit checks every rider should run before buying.
The movement test: with the chin strap fastened, try to rotate the helmet side to side and up and down using your hands. Your skin should move with the helmet. If the helmet slides independently of your skin, it’s too loose.
The roll-off test: with the strap fastened, grab the back bottom edge and try to roll it forward off your head. If it comes off or shifts dramatically, it’s too big. This test can genuinely save your life.
Cheek and brow contact: cheek pads should press firmly against your cheeks without pain—you should feel them move when you talk. The brow pad should contact your forehead evenly, with no gaps.
The wear test: keep the helmet on for 15–30 minutes if you can. Pressure points that seem minor at first become genuinely painful over a long ride. Pay attention to your forehead, temples, and the crown of your head.
Step 5: Account for Break-In and Comfort Factors
A new helmet’s interior padding will compress roughly 15–20% during the first 15 to 20 hours of riding. This means a correctly sized helmet should feel almost too snug when brand new—not painful, but firm. If it feels perfect and roomy on day one, it’ll be loose in a month.
- Glasses: if you wear glasses, try the helmet on with them—some helmets have channels to accommodate the arms.
- Hairstyles: measure and fit with your typical everyday hairstyle.
- Cheek pad swaps: many quality helmets let you buy thicker or thinner cheek pads separately to fine-tune the fit.
Common Motorcycle Helmet Fitting Mistakes to Avoid
- Buying by brand size alone. A medium in one brand is a large in another. Always measure and check the specific chart.
- Choosing style over fit. The coolest graphic in the world isn’t worth a helmet that doesn’t protect you.
- Ignoring head shape. Right size, wrong shape equals hours of discomfort.
- Sizing up for comfort. A loose helmet feels nice in the shop and fails when you need it most.
- Skipping the safety certification. Whatever fits, make sure it meets a recognized standard (DOT, ECE, or Snell) for your region.
Final Thoughts: Your Perfect Fit Is Worth the Effort
Finding the right motorcycle helmet fit takes a little patience, but it’s one of the most important things you’ll do as a new rider. Measure your head accurately, know your head shape, run every fit test above, and account for break-in. Do that, and you’ll end up with a helmet that’s safe, comfortable, and something you’ll actually enjoy wearing.
Ready to gear up? Grab a soft tape measure, get your number, and start shopping with confidence.
Share: