
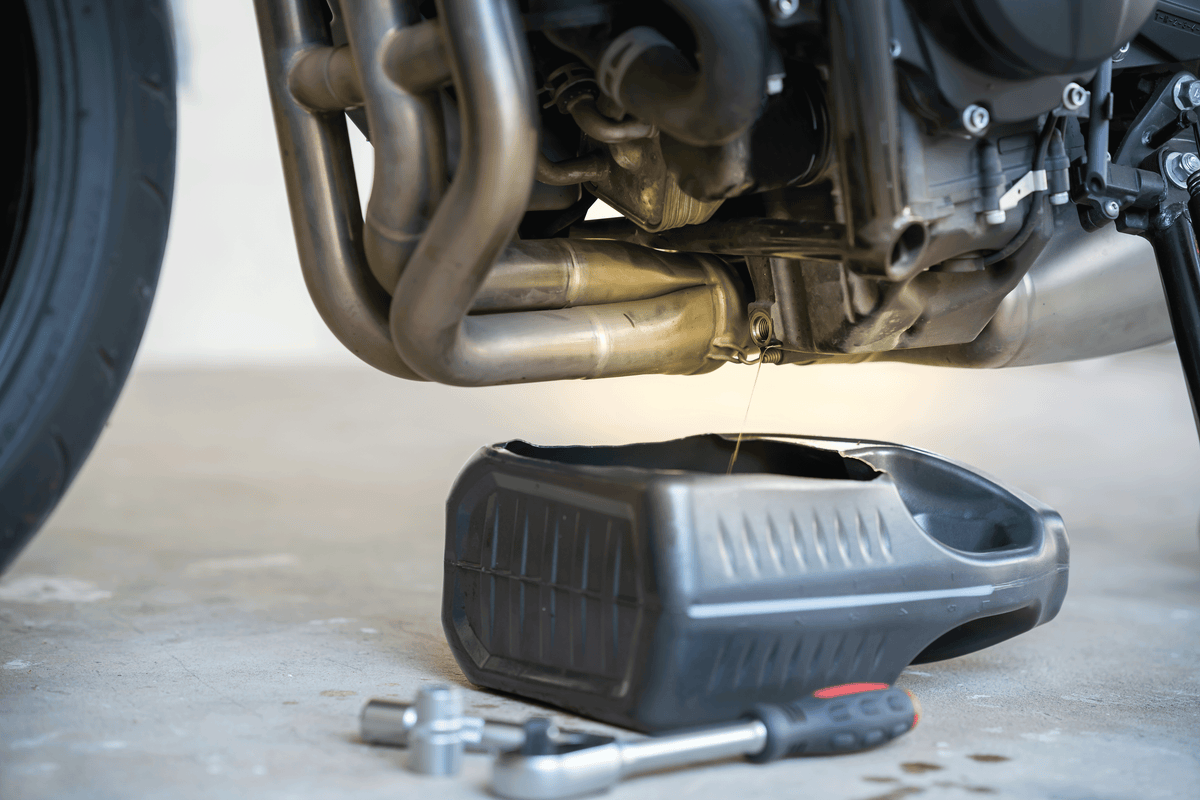
Changing your motorcycle's oil is the single most important maintenance task you can do, and it is also one of the easiest to do yourself. Clean oil is the lifeblood of your engine — it lubricates, cools, cleans, and protects internal components from wear. Knowing how to change motorcycle oil saves you money, keeps your bike running its best, and gives you the satisfaction of caring for your own machine. This step-by-step guide walks you through a clean, correct oil change.
Why Regular Oil Changes Matter
Engine oil degrades over time and miles. Heat breaks down its additives, combustion byproducts contaminate it, and tiny metal particles from normal wear circulate within it. Old, dirty oil accelerates wear, runs hotter, and can eventually sludge up the engine. Regular changes with the correct oil and a fresh filter are the cheapest insurance you can buy for engine longevity. Most manufacturers recommend an oil change every 3,000 to 6,000 miles (5,000–10,000 km), or at least once a season — follow your manual for the exact interval.
What You Will Need
Gather everything before you start, so you are not halfway through with a drained engine:
- The correct engine oil, in the right quantity and grade specified in your owner's manual (e.g., 10W-40, 5W-40, 15W-50). Use motorcycle-specific oil — car oils lack the friction modifiers a wet-clutch bike needs and can cause clutch slip.
- A new oil filter matched to your model.
- A drain plug washer (often a crush washer) — replace it each change to prevent leaks.
- Tools: a socket or wrench for the drain plug, an oil filter wrench or strap, a funnel, and a catch pan.
- Rags and gloves for cleanup, and a container to store the used oil for recycling.
Warm the engine before draining — warm oil flows out faster and carries more contaminants with it. Run the bike for a few minutes, then let it sit so the exhaust cools enough to avoid burns but the oil stays warm.
Step 1: Position the Bike and Prepare
Put the motorcycle on its center stand or a rear stand so it is level and stable. If your bike has a skid plate covering the drain plug, remove it. Place the catch pan under the engine, beneath the drain plug and filter. Have rags within reach.
Step 2: Drain the Old Oil
Remove the oil filler cap to let air in and speed draining. Position the catch pan, then use the correct socket to loosen and remove the drain plug. Be ready — the oil will flow quickly at first. Let it drain fully, tilting the bike gently if needed to get the last of it. Inspect the drain plug for metal shavings (a sign of internal wear) and clean it. Replace the crush washer on the drain plug, then reinstall and tighten it to the manual's specified torque. Overtightening strips threads; undertightening leaks.
Step 3: Remove and Replace the Oil Filter
Position the catch pan to catch the extra oil that drains from the filter opening. Use the filter wrench to loosen and remove the old filter. Some oil will spill out — that is normal. Before installing the new filter, lightly coat the new filter's rubber gasket with fresh oil. This ensures the gasket seals properly and prevents it from binding when you tighten. Install the new filter by hand until the gasket contacts the engine, then tighten according to the filter's instructions — usually three-quarters to one full turn after contact. Do not overtighten with the wrench, or you will struggle to remove it next time.
Step 4: Refill With Fresh Oil
Find the oil fill cap and add the quantity of fresh oil specified in your manual, using a funnel to avoid spills. Pour most of the specified amount, then check the level. On bikes with a sight glass, fill until the oil reaches the upper line with the bike upright and level. On bikes with a dipstick, fill to the upper mark. Replace the filler cap.
If your bike has a separate oil reservoir (some have a dry-sump system), follow the manual's procedure, which may involve filling both the engine and the tank and priming the system.
Step 5: Check for Leaks and Verify the Level
Start the engine and let it idle for a minute or two. The oil pressure warning light should go out quickly. With the engine running, check around the drain plug and filter for any leaks. If you see a drip, stop the engine and snug the offending part. After running, the oil level will have dropped slightly as the filter filled — top up to the correct level with the bike level and upright. Replace the filler cap and wipe up any spills.
Step 6: Reset and Record
If your bike has an oil change indicator, reset it per the manual. Note the date, mileage, oil brand and grade, and filter part number in your maintenance log. This record helps you track intervals and is valuable at resale. Dispose of the used oil and filter responsibly at a recycling center or auto-parts store — never pour oil down a drain or onto the ground.
Common Mistakes to Avoid
- Using car oil in a wet-clutch bike. It can cause clutch slip and lack the right additives. Use motorcycle-specific oil.
- Overfilling. Too much oil can foam, get sucked into the airbox, and damage the engine. Fill to the line, not above.
- Overtightening the filter or drain plug. Hand-tight is usually enough for the filter; torque the plug to spec.
- Forgetting the crush washer. A reused, flattened washer often leaks.
- Not warming the engine. Cold oil drains slowly and leaves contaminants behind.
- Mixing oil grades. Stick to the manual's specification.
How Often Should You Change Motorcycle Oil?
Follow your manual, but as a general guide: change the oil and filter every 3,000–6,000 miles (5,000–10,000 km) or at least once a year, whichever comes first. Change the oil more frequently if you ride hard, in heavy traffic, in extreme temperatures, or do mostly short trips that never fully warm the oil. New bikes often have a break-in oil change at around 600 miles — do not skip it, as break-in oil carries manufacturing debris.
Final Thoughts
Learning how to change motorcycle oil is a foundational skill that pays back in engine life, savings, and confidence. Warm the engine, drain fully, replace the filter and crush washer, refill with the correct motorcycle-specific oil to the proper level, and check for leaks. Do it at the interval in your manual and keep a log. Once you have mastered the oil change, the rest of routine maintenance feels approachable — move on to chain adjustment, brake pad replacement, and a full maintenance schedule]https://www.oumurs.com, and your bike will stay as reliable as the day you brought it home.
Share: