
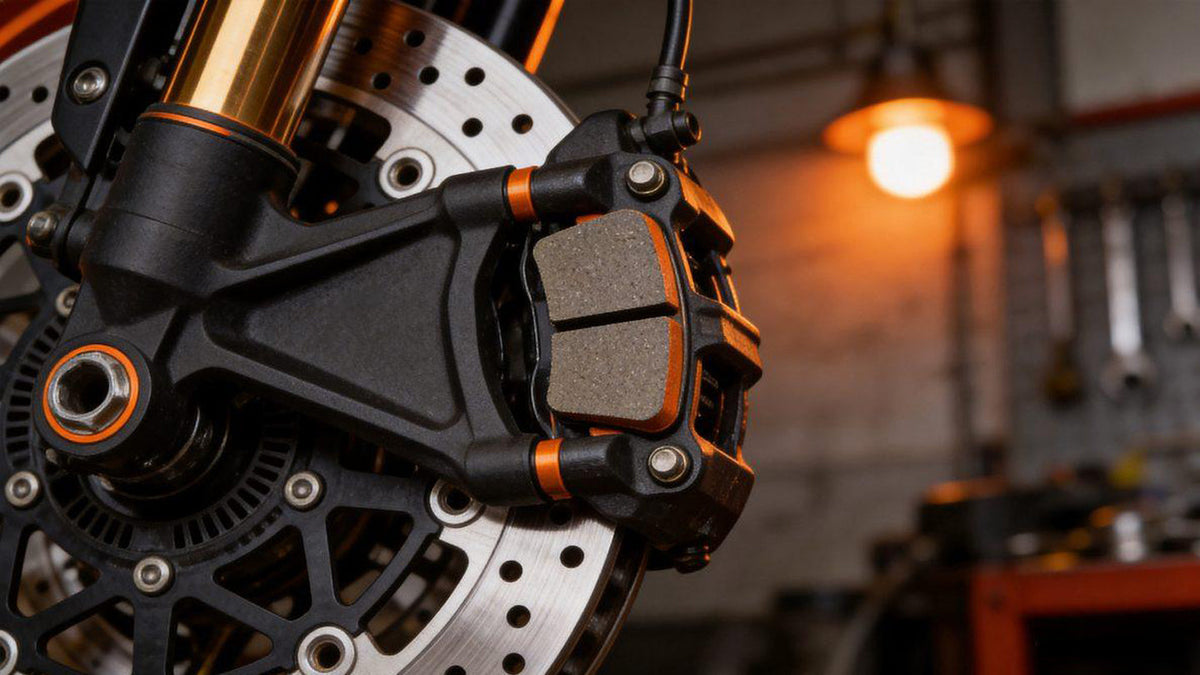
Your brakes are the most important safety system on your motorcycle, and the brake pads are the wear item that keeps them working. Worn pads lengthen stopping distances, damage the rotors, and can fail outright — yet pad replacement is a straightforward job most riders can do themselves with basic tools. Knowing how to replace motorcycle brake pads saves you money, keeps you safe, and deepens your understanding of your machine. This guide walks through when to change pads, the tools, and the step-by-step process for both front and rear calipers.
When to Replace Brake Pads
Brake pads wear gradually, so it is easy to miss the warning signs until stopping power is compromised. Replace your pads when:
- The pad friction material is thin. Most manufacturers recommend replacing when the friction material is down to about 2 mm (roughly 1/16 inch). Many pads have a wear groove or slot — when the pad is worn flush with the bottom of the groove, it is done. Inspect through the caliper with a flashlight.
- You hear squealing or grinding. Squealing often means the pads are glazed or near the end; grinding means metal is contacting the rotor — replace the pads immediately and inspect the rotor for damage.
- The lever feels different. A spongy or pulling lever can indicate worn or contaminated pads, though it can also point to air in the lines or old fluid.
- The pad material is contaminated with oil or brake fluid, which ruins stopping power — replace rather than try to clean.
- You are replacing the rotors or doing a full brake service.
Check pad thickness as part of your regular maintenance schedule, and always replace pads before they wear to the metal backing, which destroys the rotors and dramatically extends stopping distance.
Tools and Parts You Will Need
- New brake pads matched to your motorcycle model — confirm the exact part number, as pads differ between calipers.
- A caliper piston tool or C-clamp to push the piston back into the caliper.
- Allen or Torx keys for the caliper bolts and pin(s).
- A socket or wrench for the caliper mounting bolts.
- Brake cleaner and a clean rag.
- A small bungee cord or wire to support the caliper without stressing the brake line.
- Brake fluid (in case you need to top up, and only if you will be bleeding).
- Gloves and eye protection.
Always work on one caliper at a time so you can reference the other if you forget how it goes together. Never let the brake lever be pulled while the caliper is off the disc — the piston will pop out and you will have a mess.
Step 1: Prepare and Inspect
Put the bike on a stand so the wheel you are working on is stable. Remove the caliper mounting bolts and lift the caliper off the disc, supporting it with a bungee so it does not hang by the brake line. Before going further, inspect the rotor: deep grooves, a noticeable lip at the edge, or blueing from heat mean the rotor may need machining or replacement. Check that the piston moves freely and is not leaking fluid. If the piston is crusty with brake dust around the seal, clean it carefully with brake cleaner.
Step 2: Remove the Old Pads
Most calipers hold the pads with retaining pins or a spring clip. Remove the pin(s) or clip — note the order and orientation, and take a photo so reassembly is easy. Slide out the old pads. Note how they sit in the caliper and which is the inner and outer pad, as some are asymmetrical.
Step 3: Push the Piston Back
The new pads are thicker than the worn ones, so you must retract the piston into the caliper to make room. Use a caliper piston tool, a C-clamp, or a flat-blade screwdriver wrapped in a rag to push the piston back slowly and evenly. Watch the brake fluid reservoir — as the piston retracts, fluid rises. Remove some fluid with a syringe if it threatens to overflow. Pushing too fast can damage the seal; go slowly. The piston must go in straight; if it cocks, it can score the caliper bore.
If the piston will not retract, it may be corroded or the seal may be gone — the caliper needs rebuilding or replacing, which is a job for a shop if you are not experienced.
Step 4: Clean and Inspect the Caliper
With the pads out and the piston retracted, clean the caliper thoroughly with brake cleaner. Check the retaining pins and the pad slots — clean any built-up brake dust and corrosion. The pins must be smooth and the pads must slide freely in their slots; stuck pins cause uneven pad wear and poor braking. Lightly grease the pins with a high-temperature silicone or brake-specific grease — never regular grease, which can attract grit or melt onto the pads.
Step 5: Install the New Pads
Slide the new pads into the caliper in the correct orientation, making sure they seat fully in the pad slots. Reinstall the spring clip and retaining pin(s) exactly as they came out. Confirm the pads move freely — they should slide in their slots, not bind. A binding pad drags on the rotor, overheats, and wears prematurely.
Step 6: Reinstall the Caliper
Slide the caliper back over the rotor, making sure the pads sit squarely on either side of the disc and are not caught on the edge. Reinstall and torque the caliper mounting bolts to the manual's spec. Spin the wheel and check that it turns freely — a slight, light drag is normal on new pads, but a heavy drag means a pad is binding or the piston is not fully retracted.
Step 7: Pump the Lever Before Riding
This is critical. Before you move the bike, pump the brake lever several times until it firms up. The piston was retracted and the pads are now far from the disc; pumping pushes the piston out until the pads contact the rotor. If you forget this step, your first brake pull will go to the bar with no stopping power — extremely dangerous. Pump until the lever is firm at both the front and rear.
Step 8: Bed In the New Pads
New pads need a bed-in period to transfer an even layer of friction material onto the rotor. For the first 50–100 miles, avoid hard braking. Do several moderate stops from speed to gradually build heat and deposit material, then let the brakes cool. This bedding-in gives you full, smooth stopping power and extends pad and rotor life. After bed-in, check the pad wear and the lever feel.
Rear Brake Pads
The rear brake uses a similar single-piston caliper. The process is the same: remove the caliper, support it, remove the pads, retract the piston, clean, install new pads, reinstall, and pump the pedal before riding. Rear pads often wear faster than fronts on some bikes, so check them regularly.
Safety Tips and Common Mistakes
- Never pull the brake lever with the caliper off the disc — the piston pops out.
- Always pump the lever after reinstalling before moving the bike.
- Use the correct pads — mixing pad types between front calipers changes brake balance.
- Do not get grease or oil on the pad friction material or rotor — it ruins braking. Clean any contamination with brake cleaner.
- Torque bolts to spec — loose caliper bolts are catastrophic.
- Replace pads in pairs per axle — never one pad or one caliper at a time.
Final Thoughts
Replacing your motorcycle brake pads is a manageable DIY job that keeps your most critical safety system in top condition. Inspect pad thickness regularly, change them before they reach the metal, retract the piston carefully, clean the caliper, install the correct pads, and always pump the lever before riding. Bed in the new pads gently for the first 100 miles. With fresh pads, sharp brakes, and a regular maintenance schedule — including fresh oil and good tires — you will have the stopping power you need, every time you squeeze the lever.
Share: