
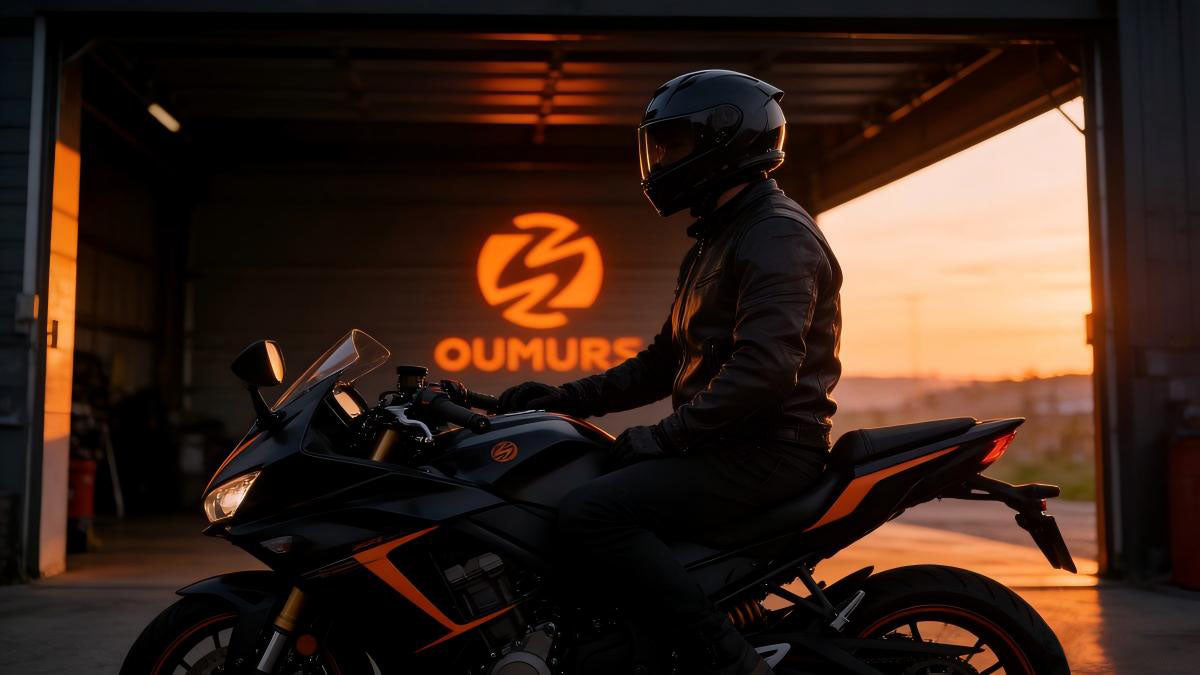
Learning how to ride a motorcycle for beginners is one of the most rewarding decisions you can make. Riding frees you from traffic, sharpens your senses, and connects you to the road in a way no car ever can. But it also demands respect: a motorcycle gives you speed, agility, and zero protection between you and the asphalt. That is exactly why the right foundation matters.
This guide breaks the learning process into clear, sequential steps so you can build confidence without picking up bad habits. Whether you just bought your first bike or you are still deciding, follow this path from gear to your first real ride.
Why Beginners Need a Structured Approach
Most new riders want to get rolling immediately, but skipping fundamentals is how accidents happen. A structured approach means you learn controls before speed, balance before traffic, and technique before instinct. Each step here builds on the previous one, so do not rush. Spend a full session on each stage until it feels automatic.
Step 1: Get the Right Gear Before You Touch the Bike
Your gear is your only protection. Buy it before the motorcycle if you have to. The essentials:
- Helmet: A DOT, ECE, or Snell-certified full-face helmet. Fit should be snug; a loose helmet shifts at speed and offers less impact protection. Learn how to measure and fit your helmet correctly, and see our full face vs modular vs half helmet guide to choose the right type.
- Jacket and pants: Abrasion-resistant material like leather or reinforced textile, with armor at shoulders, elbows, hips, and knees.
- Gloves: Full-fingered, with knuckle protection and a padded palm.
- Boots: Over-the-ankle boots with oil-resistant soles and reinforced ankles.
- Eye protection: If your helmet has no visor, wear shatterproof goggles.
Cheap gear is still better than no gear, but do not compromise on the helmet. The Oumurs 361S is ECE 22.06 & DOT dual-certified and built for street riding — a solid choice for new riders who want certified protection from day one.
Step 2: Learn the Controls While the Bike Is Stationary
Before you start the engine, sit on the motorcycle with the kickstand up and your feet flat on the ground. Find every control by touch:
- Right hand: Front brake lever and throttle (twist toward you to open).
- Left hand: Clutch lever and, on the left grip, the high/low beam, horn, and turn signal switches.
- Right foot: Rear brake pedal.
- Left foot: Gear shifter (one down for first, then up through the gears).
- Ignition and kill switch: Usually on the right handlebar.
Practice the throttle motion — roll it on gently and release smoothly. Squeeze the clutch in fully and let it out slowly. Get a feel for the friction zone, the point where the clutch begins to transmit power. This is the single most important skill for a beginner.
Step 3: Master the Friction Zone and Balance
Find a flat, empty parking lot. With the engine running and the transmission in neutral, pull the clutch in and click down into first gear. Now slowly release the clutch while keeping the throttle closed. The bike will start to creep forward — that is the friction zone. Practice holding the bike at a slow walking pace using only the clutch. This builds the fine control you need for traffic and tight turns.
Once you can creep smoothly, add a tiny bit of throttle as you release the clutch a little more. Look where you want to go, not at the front wheel. Your motorcycle follows your eyes. Keep your knees gripping the tank lightly and your arms relaxed; steering with stiff arms makes every input jerky.
Step 4: Upshift, Downshift, and Stop Smoothly
When the engine winds up, it is time to shift. Roll off the throttle, squeeze the clutch, lift the shifter one click, release the clutch smoothly, and roll the throttle back on. Repeat for higher gears. Downshifting reverses the process: squeeze the clutch, push the shifter down, and ease the clutch out while matching the revs slightly with a blip of throttle.
Stopping is where beginners panic. Squeeze both brakes progressively — the front brake does most of the work, but grab it too hard and the wheel locks. Pull the clutch in just before you stop so the engine does not stall. Plant your left foot down first, keep the right foot on the rear brake, and shift to neutral if you will be sitting for a while.
Step 5: Practice Low-Speed Maneuvers
Slow-speed control separates good riders from nervous ones. Practice these drills:
- Figure-eights: Ride a lazy figure-eight using the clutch and rear brake to modulate speed. Look through the turn.
- Slow race: See how slowly you can ride a straight line without putting a foot down. Use the rear brake, not the front, to steady the bike.
- U-turns: Look hard over your shoulder, lean the bike slightly, and keep your speed steady.
These drills teach you to trust the bike’s balance and your own clutch control. Spend at least a few sessions here before you ever enter traffic.
Step 6: Take a Certified Training Course
Even if you are progressing on your own, enroll in a Motorcycle Safety Foundation (MSF) course or its equivalent in your country. Professional instructors correct mistakes you cannot see, and many regions waive the riding test if you complete the course. You also practice emergency braking and swerving in a controlled environment — skills you hope never to need but must have.
Step 7: Graduate to the Road
When you can start, stop, shift, and turn smoothly in a lot, you are ready for quiet streets. Plan short routes during low-traffic hours. Ride as if no one can see you: assume cars will pull out, change lanes into you, and brake suddenly. Keep a generous following distance and always have an escape path.
Common Beginner Mistakes to Avoid
- Staring at the obstacle you fear. Look where you want to go, always.
- Grabbing the front brake in a panic. Squeeze, do not snatch.
- Riding with the kill switch off and wondering why the bike will not start. Check it first.
- Skipping gear. The road does not care that you are a beginner.
- Overconfidence after a few good rides. Skill takes thousands of miles.
Gear Up Right From Day One
The Oumurs 361S is a dual ECE 22.06 & DOT certified full-face street helmet — ideal for new riders who want certified protection without compromising comfort. Available in three colorways:
Shop the Oumurs 361S →Final Thoughts
Learning how to ride a motorcycle for beginners is a journey, not a weekend project. Master the friction zone, respect your gear, practice low-speed control, and take a real training course. Build your skills one step at a time, and every ride will get smoother, safer, and more enjoyable. Once you are comfortable on the bike, make sure your helmet fits correctly — read our complete helmet fitting guide so your head protection works as hard as you do.
Share: